- Deliver v1.3
- Update user docs
- Release as a jar file
- Ensure the code RepoSense-compatible
- Wrap up v1.3
- Demo v1.3 before the tutorial
1 Deliver v1.3
- Deliver the features that you planned for v1.3.
2 Update user docs
- Update the v1.3 user guide to match the current version of the product. Reason: testers will need to refer to the UG during the practical exam dry run.
- Clearly indicate which features are not implemented yet e.g. tag those features with a
Coming soon. - For those features already implemented, ensure their descriptions match the exact behavior of the product e.g. replace mockups with actual screenshots
- Clearly indicate which features are not implemented yet e.g. tag those features with a
- Landing page (
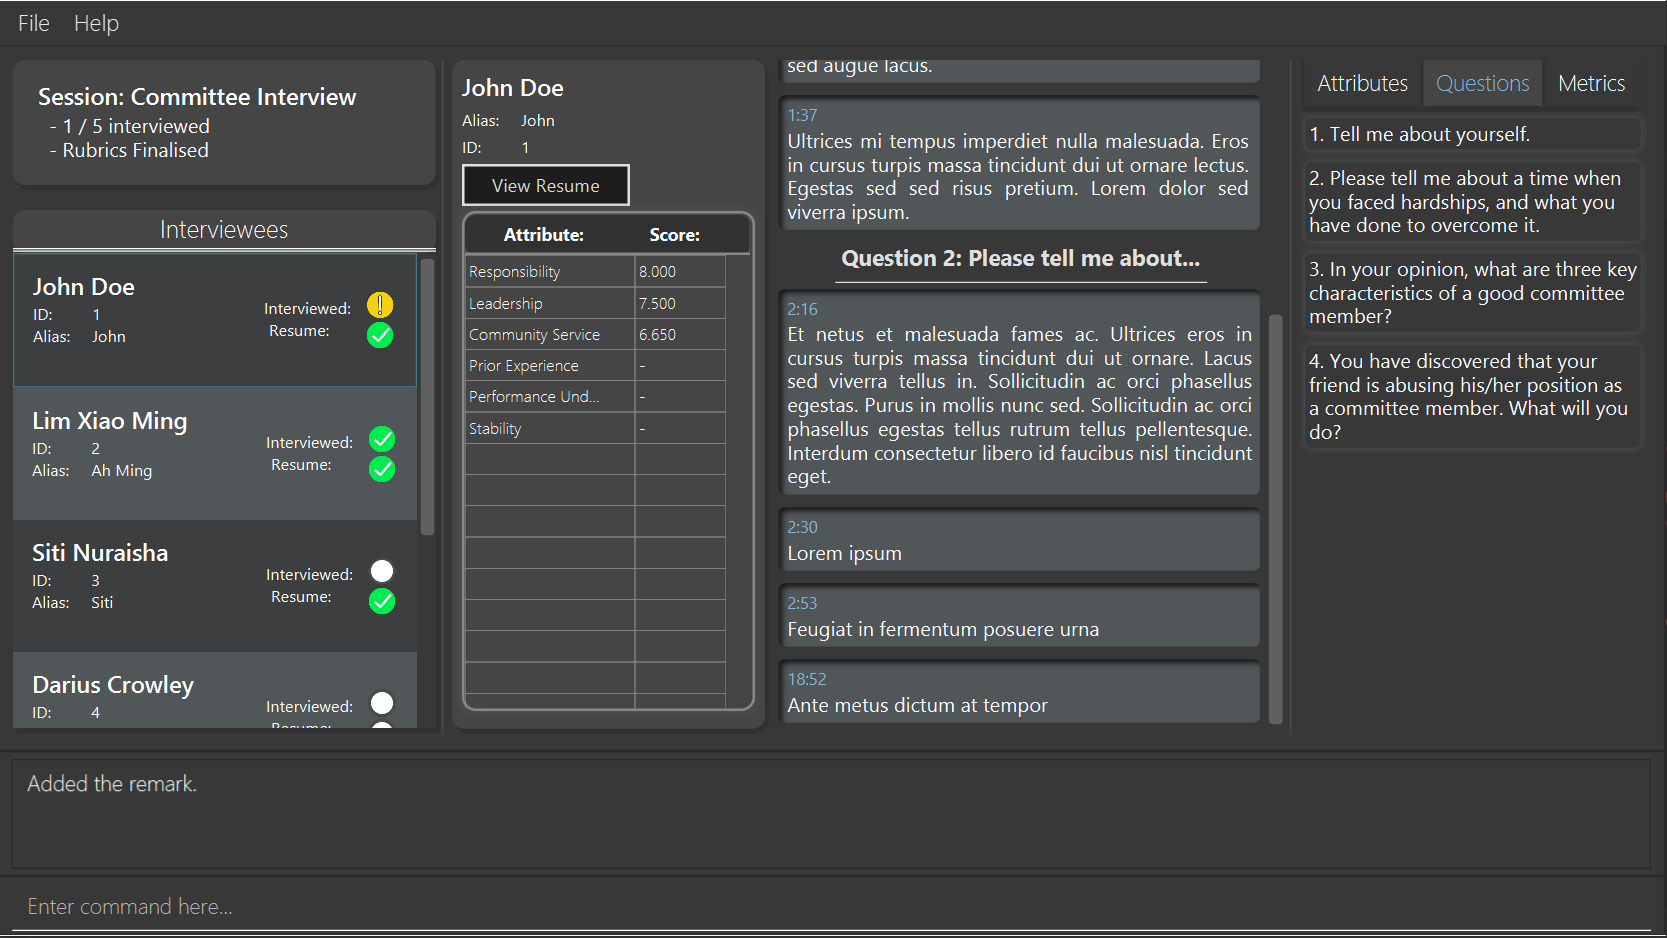
docs/index.md): Update to look like a real product (rather than a project for learning SE) if you haven't done so already. In particular, update theUi.pngto match the current product ( tips).
Some common sense tips for a good product screenshot
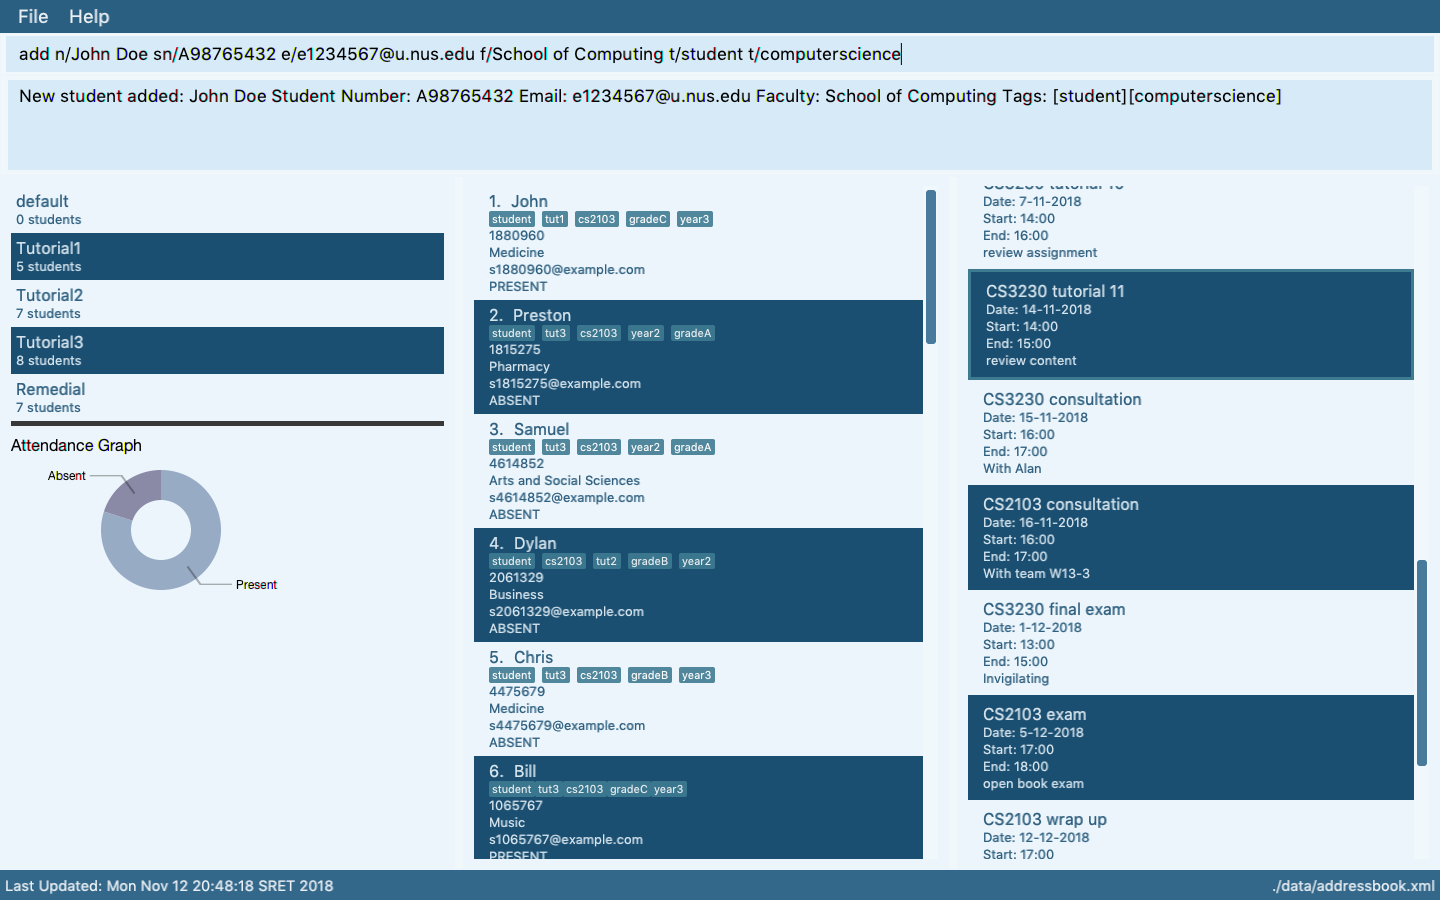
Ui.png represents your product in its full glory.
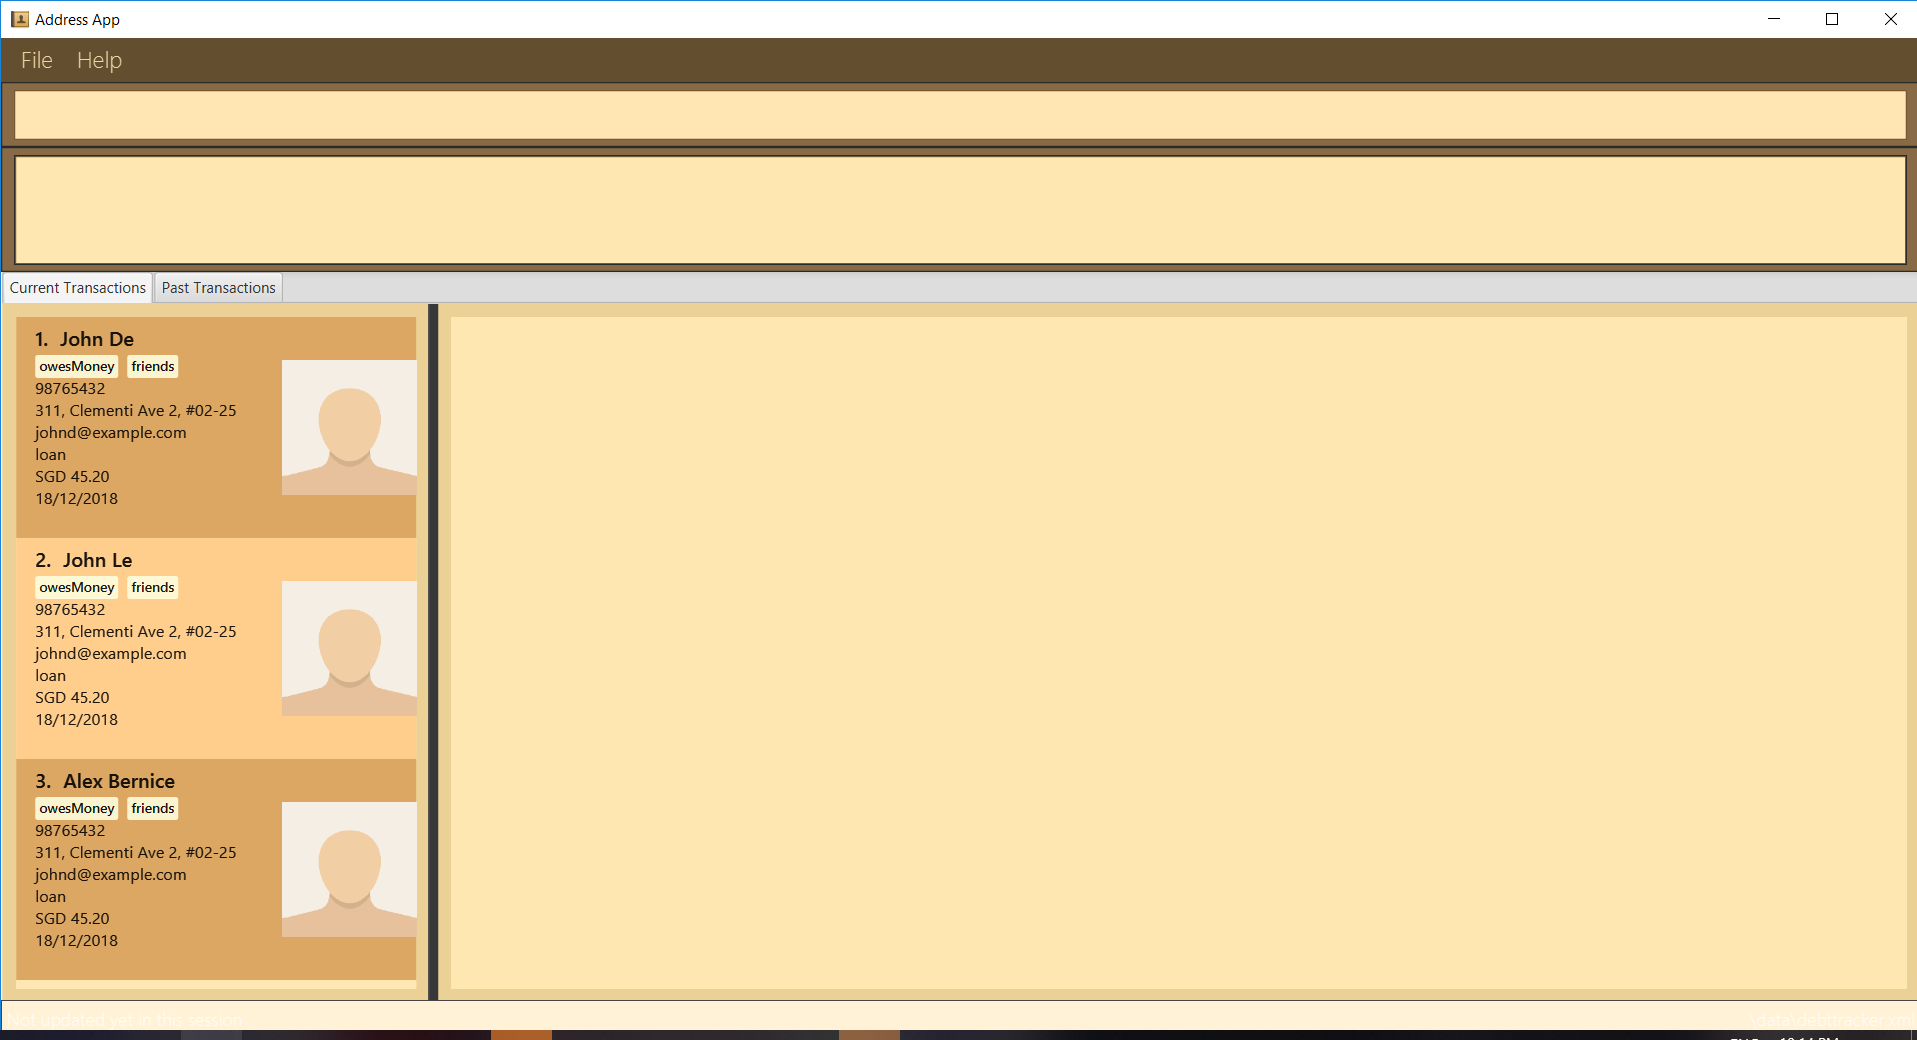
- Before taking the screenshot, populate the product with data that makes the product look good. For example, if the product is supposed to show profile photos, use real profile photos instead of dummy placeholders.
- If the product doesn't have nice line wrapping for long inputs/outputs, don't use such inputs/outputs for the screenshot.
- It should show a state in which the product is well-populated i.e., don't leave data panels largely blank.
- Choose a state that showcases the main features of the product i.e., the login screen is not usually a good choice.
- Take a clean screenshot with a decent resolution. Some screenshot tools can capture a specified window only. If your tool cannot do that, make sure you crop away the extraneous parts captured by the screenshot.
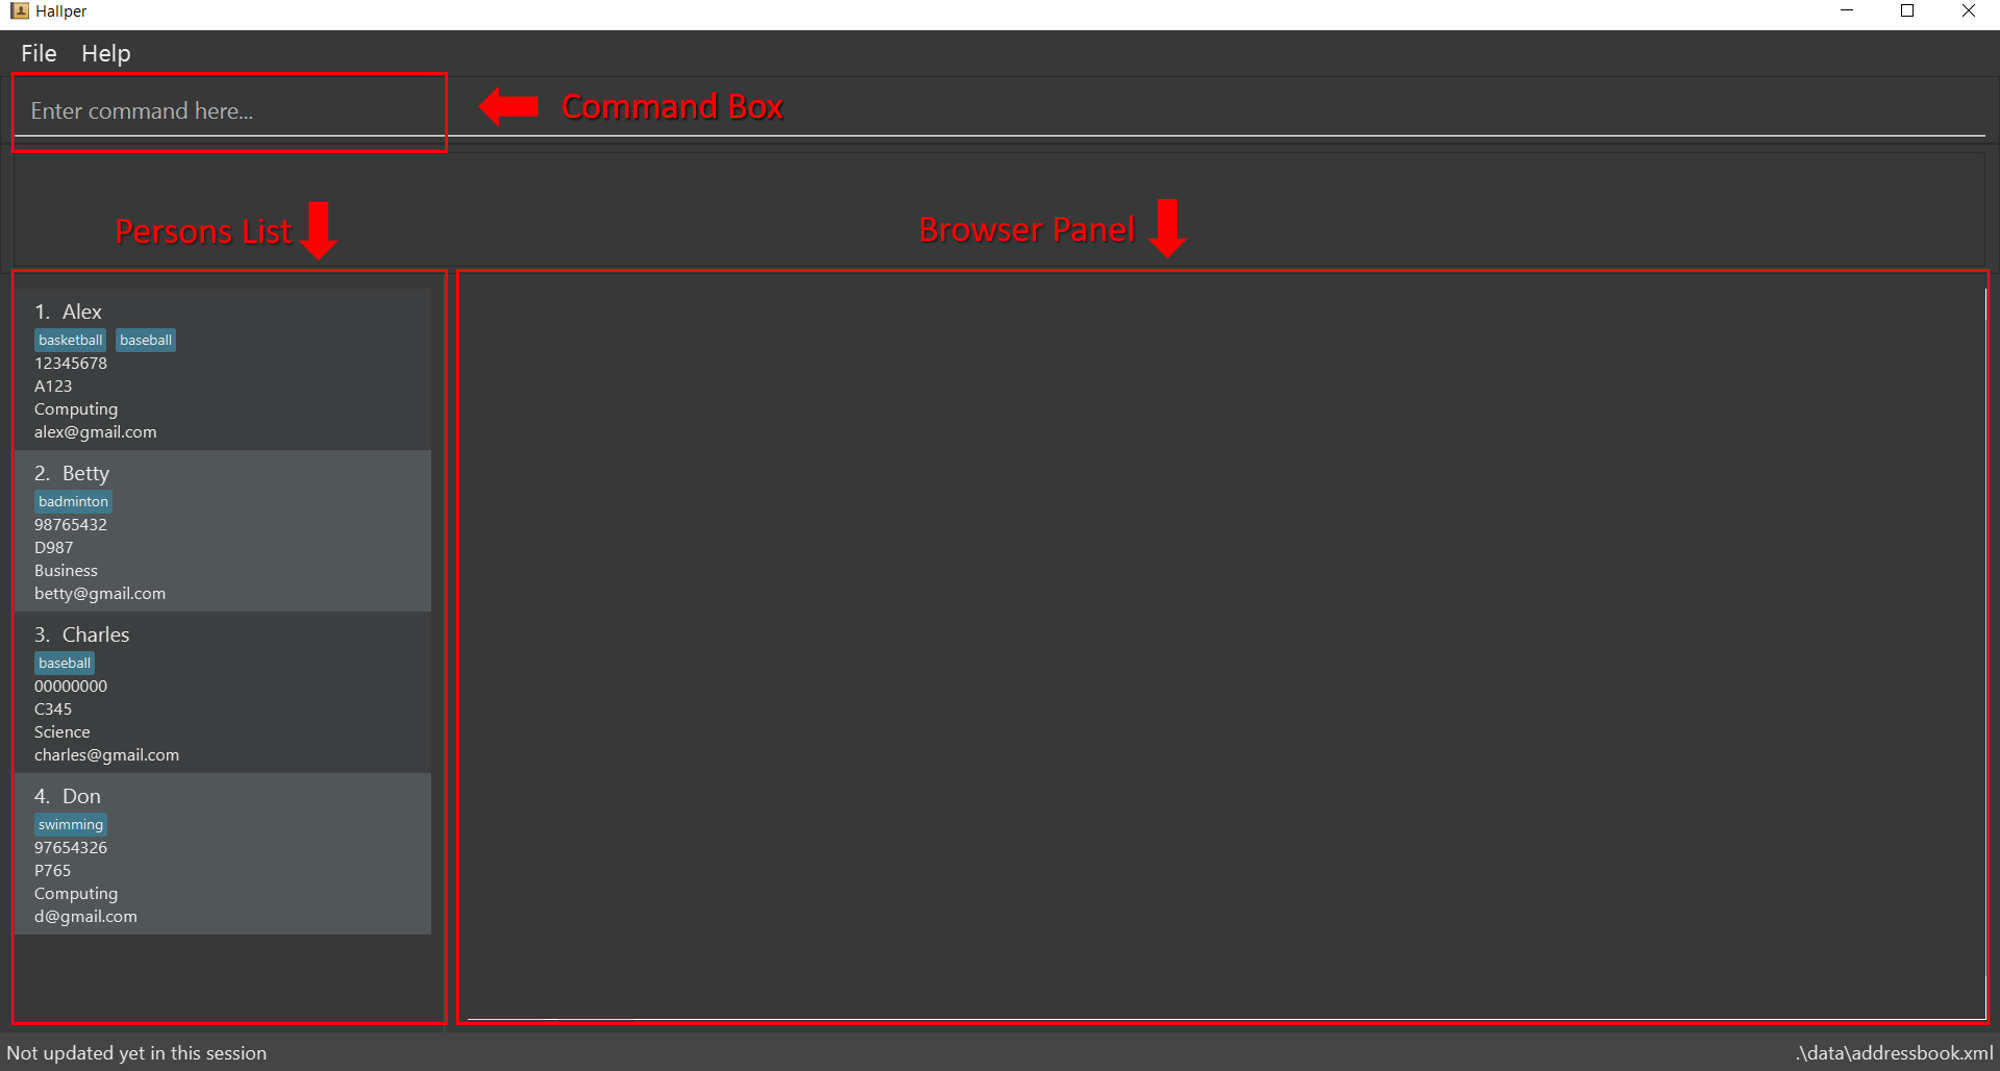
- Avoid annotations (arrows, callouts, explanatory text etc.); it should look like the product is in use for real.
Examples
Reason: Distracting annotations.
Reason: Not enough data. Should have used real profile pictures instead of placeholder images.
Reason: screenshot not cropped cleanly (contains extra background details)
Admin tP → Deliverables → User Guide
In UG/DG, using hierarchical section numbering and figure numbering is optional (reason: it's not easy to do in Markdown), but make sure it does not inconvenience the reader (e.g., use section/figure title and/or hyperlinks to point to the section/figure being referred to). Examples:
In the section Implementation given above ...
CS2103 does not require you to indicate author name of DG/UG sections (CS2101 requirements may differ). We recommend (but not require) you to ensure that the code dashboard reflect the authorship of doc files accurately.
- The main content you add should be in the
docs/UserGuide.mdfile (for ease of tracking by grading scripts). - Should cover all v1.4 features.
Ensure those descriptions match the product precisely, as it will be used by peer testers (inaccuracies will be considered bugs). - Optionally, can also cover future features. Mark those as
Coming soon. - Also note the following constraint:
Admin tP Contstraints → Constraint-File-Size
Constraint-File-Size
The file sizes of the deliverables should not exceed the limits given below.
Reason: It is hard to download big files during the practical exam due to limited WiFi bandwidth at the venue:
-
JAR file: 100MB (Some third-party software -- e.g., Stanford NLP library, certain graphics libraries -- can cause you to exceed this limit)
-
PDF files: 15MB/file (Not following the recommended method of converting to PDF format can cause big PDF files. Another cause is using unnecessarily high resolution images for screenshots).
3 Release as a jar file
- Do a resulting in a jar file on GitHub that can be downloaded by potential usersproper product release as described in the Developer Guide. Do some manual tests to ensure the jar file works.
4 Ensure the code RepoSense-compatible
-
Ensure your code is i.e., RepoSense can detect your code as yoursRepoSense-compatible and the code it attributes to you is indeed the code written by you, as explained below:
- Go to the tp Code Dashboard. Click on the
</>icon against your name and verify that the lines attributed to you (i.e., lines marked as green) reflects your code contribution correctly. This is important because some aspects of your project grade (e.g., code quality) will be graded based on those lines.
- More info on how to make the code RepoSense compatible:
- Go to the tp Code Dashboard. Click on the
Admin Tools → RepoSense
Tool: RepoSense (for authorship tracking)
We will be using a tool called RepoSense to make it easier for you to see (and learn from) code written by others, and to help us see who wrote which part of the code.
Viewing the current status of code authorship data:
- The reports generated by the tool for the individual and team projects will be made available in the module website at some point in the semester. The feature that is most relevant to you is the Code Panel (shown on the right side of the screenshot above). It shows the code attributed to a given author.
- Click on your name to load the code attributed to you (based on Git blame/log data) onto the code panel on the right.
- If the code shown roughly matches the code you wrote, all is fine and there is nothing for you to do.
If the code does not match the actual authorship: Given below are the possible reasons for the code shown to mismatch the code you wrote.
-
Reason 1: the
Author nameof some of your commits is not known to RepoSense -- this is a result of not setting thegit.usernameproperty as instructed in our Git setup instructions.
How to check: Find theAuthor nameof your commits that are missing (you can use SourceTree or thegit logcommand for that -- it's not possible to do that using the GitHub interface though).
Check if that author name is included in the RepoSense config for the iP or the RepoSense config for the tP (whichever the applicable one)
Remedy: Send the missing author name(s) to the prof so that the RepoSense configuration can be updated accordingly. -
Reason 2: The actual authorship does not match the authorship determined by git blame/log e.g., another student touched your code after you wrote it, and Git log attributed the code to that student instead.
Remedy: You can add@@authorannotations as explained in the panel below:
Adding @@author tags to indicate authorship
Adding @@author tags indicate authorship
-
Mark your code with a
//@@author {yourGithubUsername}. Note the double@.
The//@@authortag should indicates the beginning of the code you wrote. The code up to the next//@@authortag or the end of the file (whichever comes first) will be considered as was written by that author. Here is a sample code file://@@author johndoe
method 1 ...
method 2 ...
//@@author sarahkhoo
method 3 ...
//@@author johndoe
method 4 ... -
If you don't know who wrote the code segment below yours, you may put an empty
//@@author(i.e. no GitHub username) to indicate the end of the code segment you wrote. The author of code below yours can add the GitHub username to the empty tag later. Here is a sample code with an emptyauthortag:method 0 ...
//@@author johndoe
method 1 ...
method 2 ...
//@@author
method 3 ...
method 4 ... -
The author tag syntax varies based on file type e.g. for java, css, fxml. Use the corresponding comment syntax for non-Java files.
Here is an example code from an xml/fxml file.<!-- @@author sereneWong -->
<textbox>
<label>...</label>
<input>...</input>
</textbox>
... -
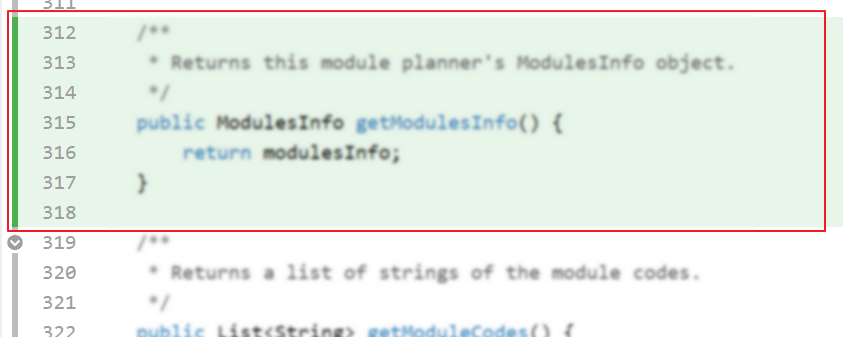
Do not put the
//@@authorinside java header comments.
👎/**
* Returns true if ...
* @@author johndoe
*/👍
//@@author johndoe
/**
  * Returns true if ...
  */
What to and what not to annotate
-
Annotate both functional and test code There is no need to annotate documentation files.
-
Annotate only significant size code blocks that can be reviewed on its own e.g., a class, a sequence of methods, a method.
Claiming credit for code blocks smaller than a method is discouraged but allowed. If you do, do it sparingly and only claim meaningful blocks of code such as a block of statements, a loop, or an if-else statement.- If an enhancement required you to do tiny changes in many places, there is no need to annotate all those tiny changes; you can describe those changes in the Project Portfolio page instead.
- If a code block was touched by more than one person, either let the person who wrote most of it (e.g. more than 80%) take credit for the entire block, or leave it as 'unclaimed' (i.e., no author tags).
- Related to the above point, if you claim a code block as your own, more than 80% of the code in that block should have been written by yourself. For example, no more than 20% of it can be code you reused from somewhere.
- GitHub has a blame feature and a history feature that can help you determine who wrote a piece of code.
-
Do not try to boost the quantity of your contribution using unethical means such as duplicating the same code in multiple places. In particular, do not copy-paste test cases to create redundant tests. Even repetitive code blocks within test methods should be extracted out as utility methods to reduce code duplication. Individual members are responsible for making sure code attributed to them are correct. If you notice a team member claiming credit for code that he/she did not write or use other questionable tactics, you can email us (after the final submission) to let us know.
-
If you wrote a significant amount of code that was not used in the final product,
- Create a folder called
{project root}/unused - Move unused files (or copies of files containing unused code) to that folder
- use
//@@author {yourGithubUsername}-unusedto mark unused code in those files (note the suffixunused) e.g.
//@@author johndoe-unused
method 1 ...
method 2 ...
Please put a comment in the code to explain why it was not used.
- Create a folder called
-
If you reused code from elsewhere, mark such code as
//@@author {yourGithubUsername}-reused(note the suffixreused) e.g.//@@author johndoe-reused
method 1 ...
method 2 ... -
You can use empty
@@authortags to mark code as not yours when RepoSense attribute the code to you incorrectly.-
Code generated by the IDE/framework, should not be annotated as your own.
-
Code you modified in minor ways e.g. adding a parameter. These should not be claimed as yours but you can mention these additional contributions in the Project Portfolio page if you want to claim credit for them.
-
- Reason 3: Some commits should not be included in the authorship analysis e.g., you committed the code of a third party library by mistake.
Remedy: Let us know the hashes of the commits that need to be omitted from the analysis.
If none of the above works, please please post in the forum or contact us via cs2103@comp.nus.edu.sg so that we can advise you what to do.
We recommend you ensure your code is RepoSense-compatible by v1.3
5 Wrap up v1.3
- as before
6 Demo v1.3 before the tutorial
- [one member] As was done in
v1.2,- Run your application using the JAR file that you released for
v1.3. - Take screenshots of each available feature in action (or screen-record a demo -- need not be polished).
- Add those screenshots (or upload the demo video somewhere and give the link) to your collaborative project notes document with an appropriate heading e.g.,
v1.3 features demo.
- Run your application using the JAR file that you released for